This blog will guide you how to uninstall an existing installed SQL Server Instance. If you have multiple installed instance of SQL Server in your local PC then this blog address your problem. Please follow the steps provided below.
First and foremost, go to Control Panel and select the Microsoft SQL Server 2008 (64 bit) entry from the list. Once selected, click the Uninstall/Change menu from the panel. See the image below.

After clicking of the Uninstall/Change button, the SQL Server Uninstallation Options will be displayed. From there, please select the Remove link. Please see the image below.

The Setup Support Rules will then check the system requirements. Ensure that all Rule is passed otherwise you need to fix it (and the un-installation cannot continue). See image below.
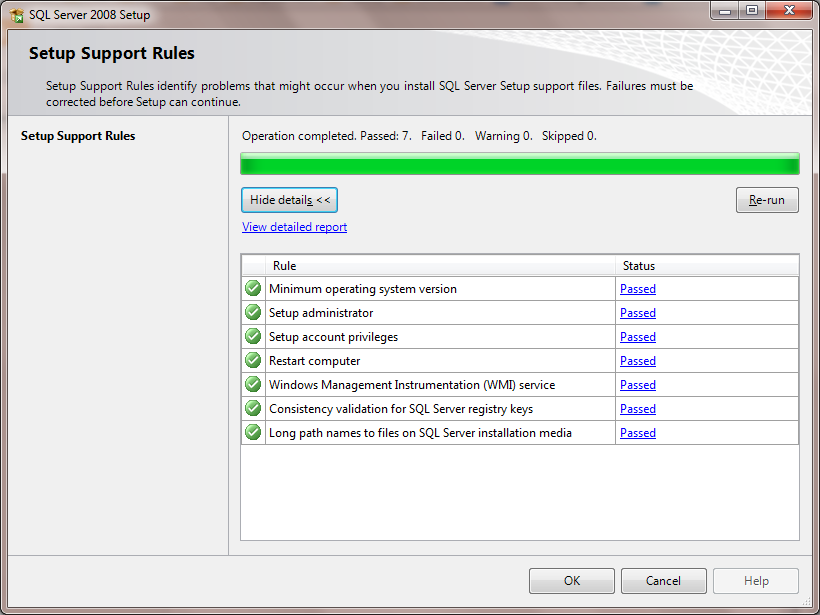
Just click the OK button if you see all the entries are pass.
In the next window, select the SQL Server Instance you wish to remove or modify. In our case, we are removing our existing installed Express edition instance. Just simply select the proper entry in the 'Instance to remove from' field.
See the image below.

Once you select the proper entry, just click the Next button to proceed. The next window will show you what features are you going to remove from the SQL Server instance. Our advice is to select all features installed the current selected SQL Server instance. See the image below.

Just click the Select All button to select all entries then click the Next button. After that the next window will display the removal rules. See the image below.

Click the Next button. In the next window the Ready to Remove dialog will be displayed to confirm to you the list of features to remove. See the image below.
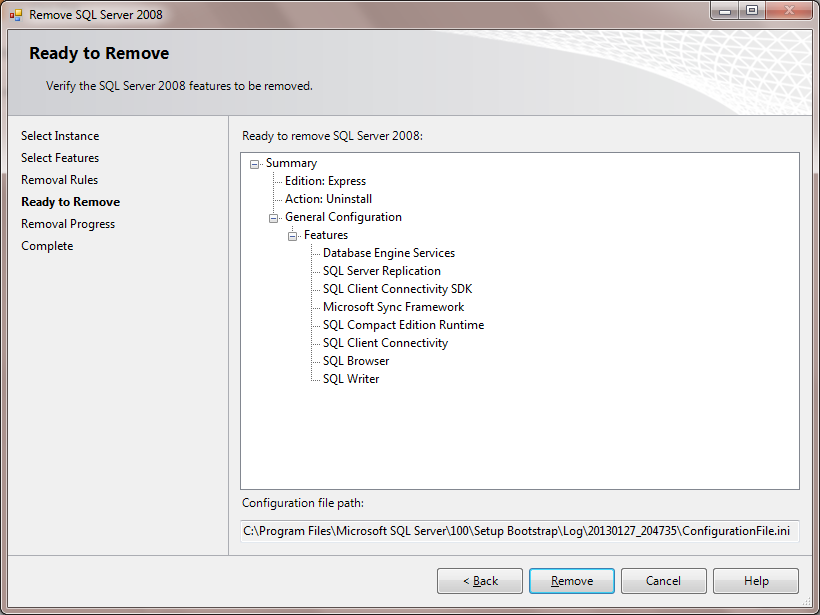
If you are sure to remove the features just click the Remove button, otherwise click Back button to reset the features to remove. In our case, we will just click the Remove button.
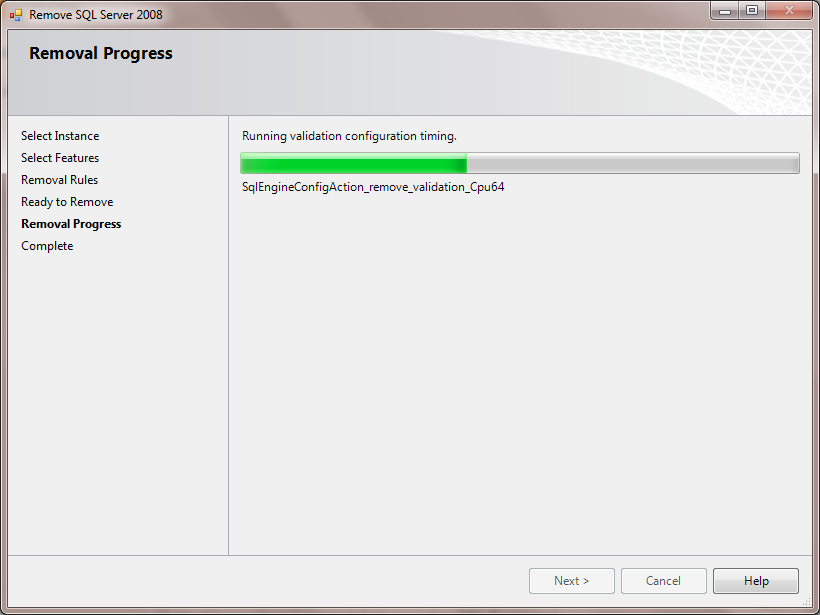
The removal progress will be displayed in the next window. See the image below.
Once completed, just click the Next button and in the next window it will only display the link to the log file for your un-installation report status. Just click the Close button to close the window. See image below.

Other Solution
Alternative solution from Microsoft can be found here.
Note: You need to restart the PC after un-installing the SQL Server instance to have effect in the system. So better do follow the process by restarting your PC to avoid conflicts.
You just learned how to un-installed an existing SQL Server instance.
No comments:
Post a Comment
Place your comments and ideas